-
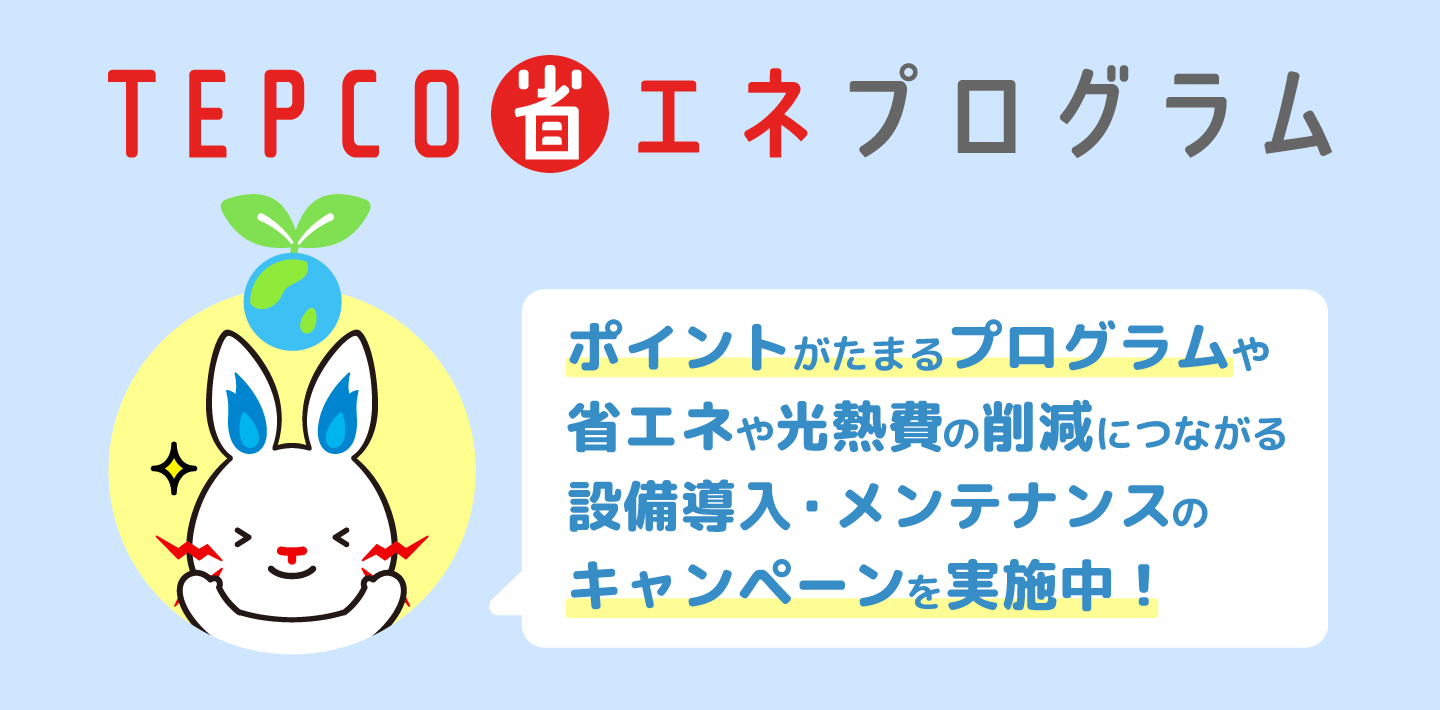
极速赛车:168极速赛车开奖官网开奖记录+开奖结果-直播视频-1分钟极速赛车开奖结果历史记录 省エネや光熱費の削減につながる設備の導入などのキャンペーンを実施中!
-
省エネ・節電にご協力いただきありがとうございます。
現在の電力使用状況と、省エネ・節電に関するお役立ち情報はコチラから。 -
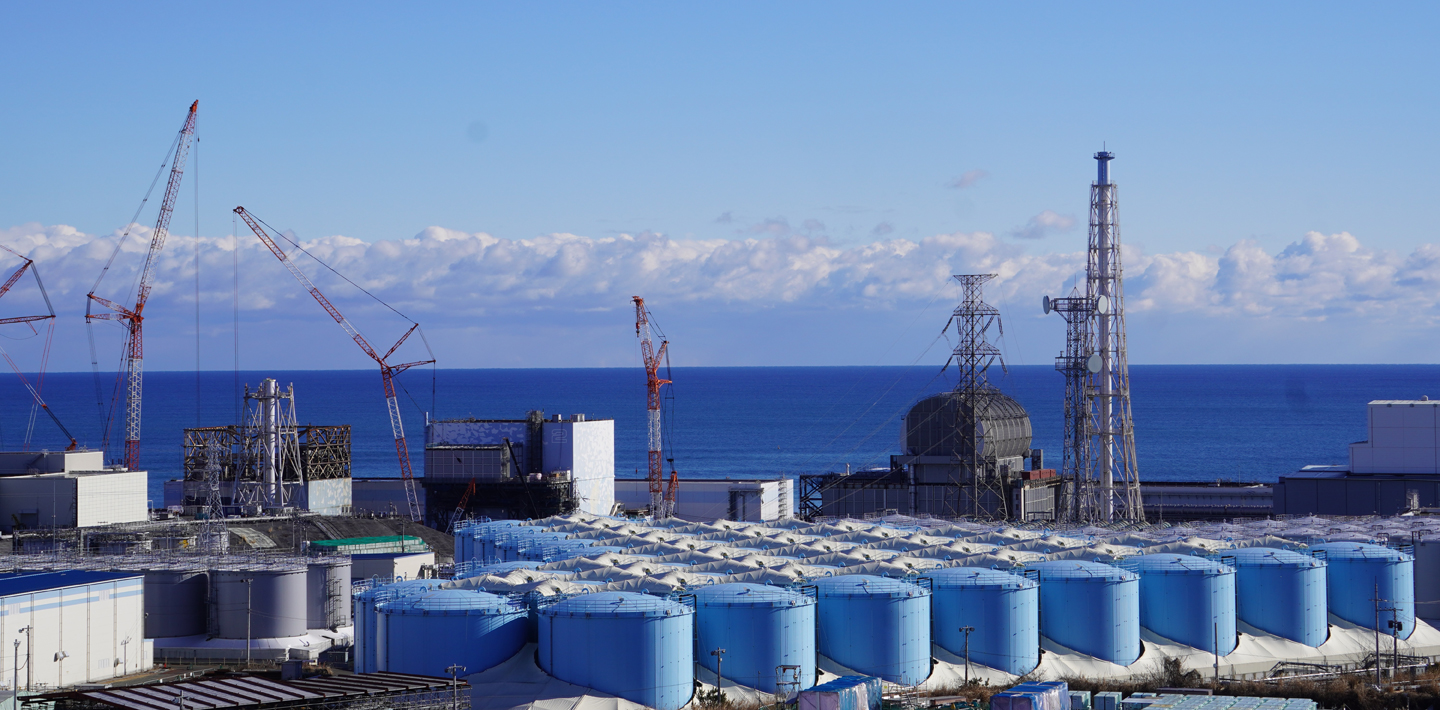
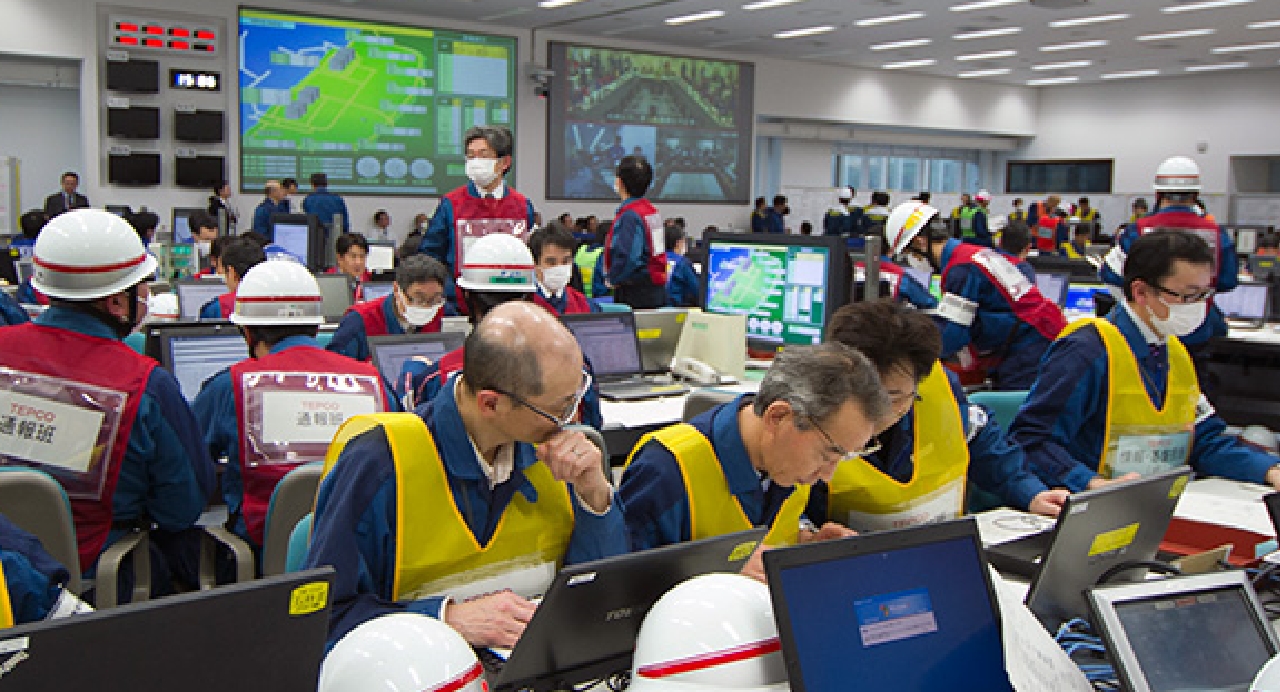
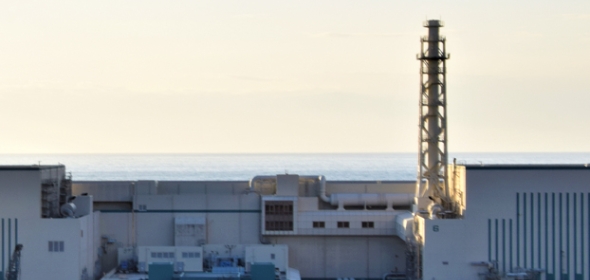
【廃炉プロジェクト】
福島第一原子力発電所の廃炉に向けた取り組みをご紹介します。 -

福島復興活動をグループ全体で継続実施していきます。
-

社員が語るWeb広報誌『東京電力報』
300を超える自治体との「防災協定」の締結~レジリエンス強化に向けて~ -
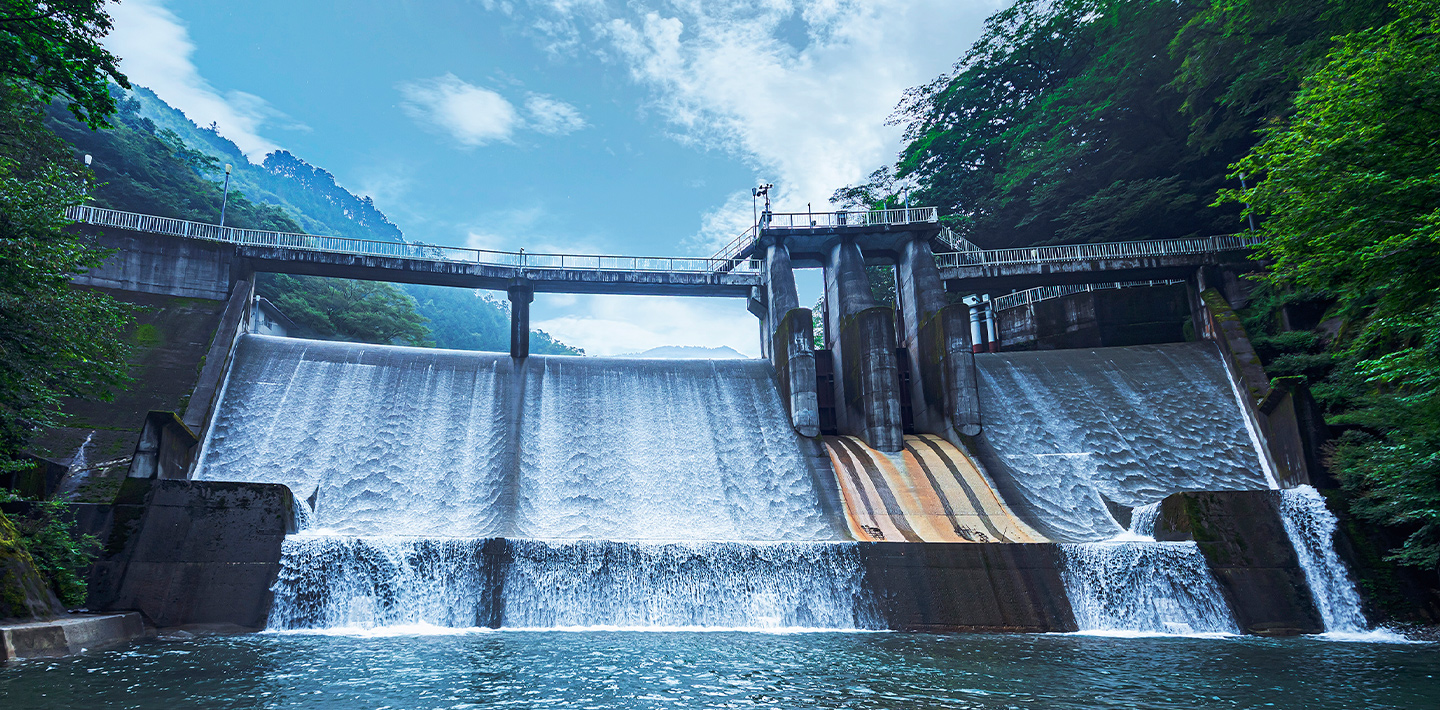
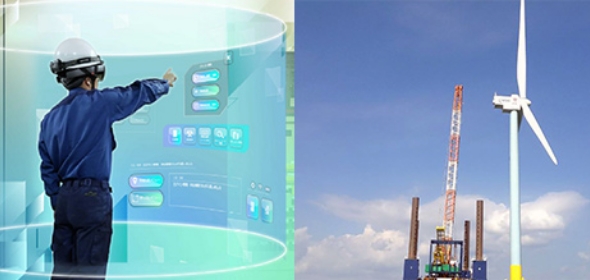
東京電力リニューアブルパワー
再生可能エネルギーで、サステナブルな低炭素社会を実現 -
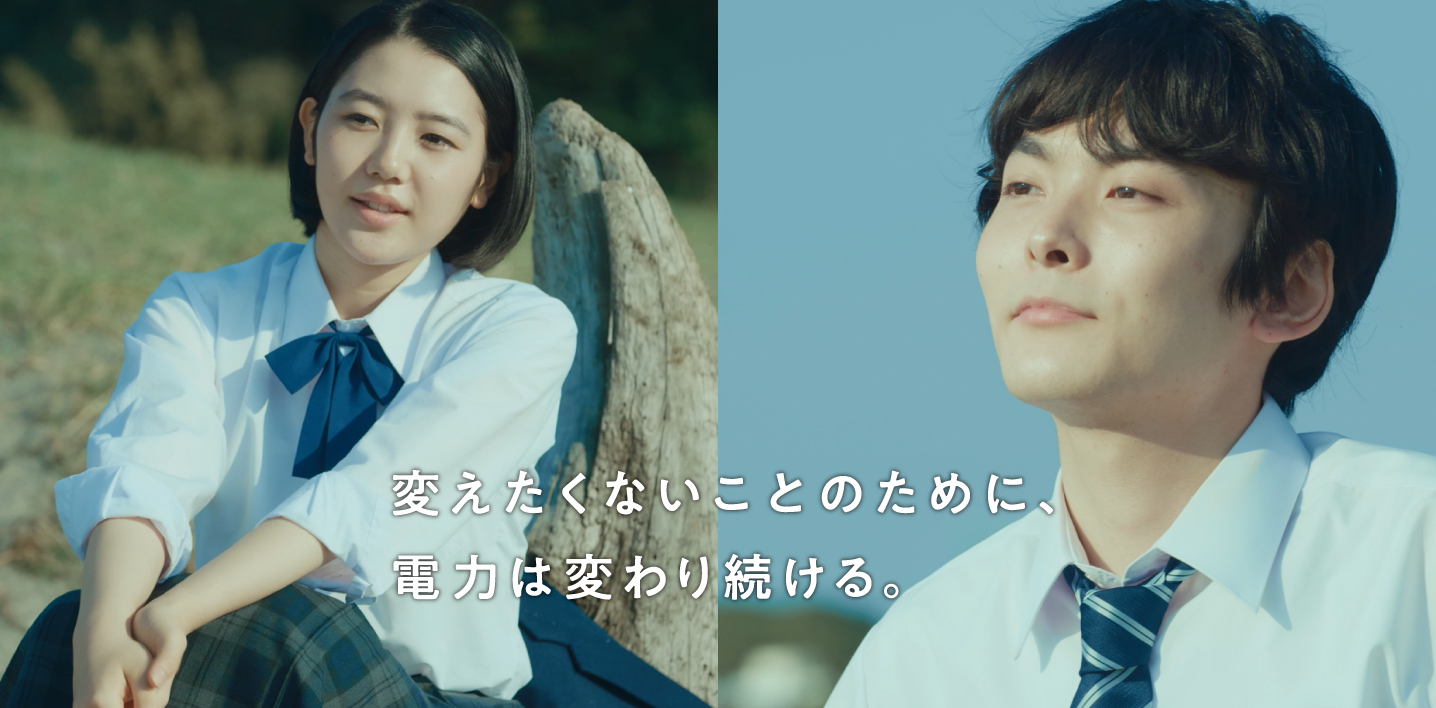
WEBムービー公開!
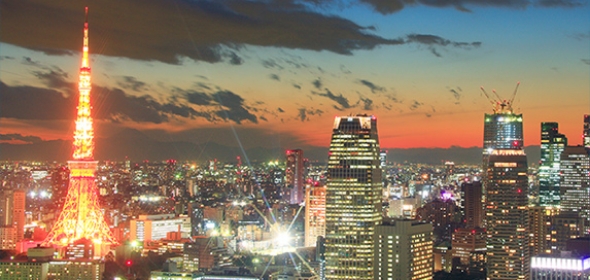
TEPCOは脱炭素・防災への取り組みを本格的に進めています -
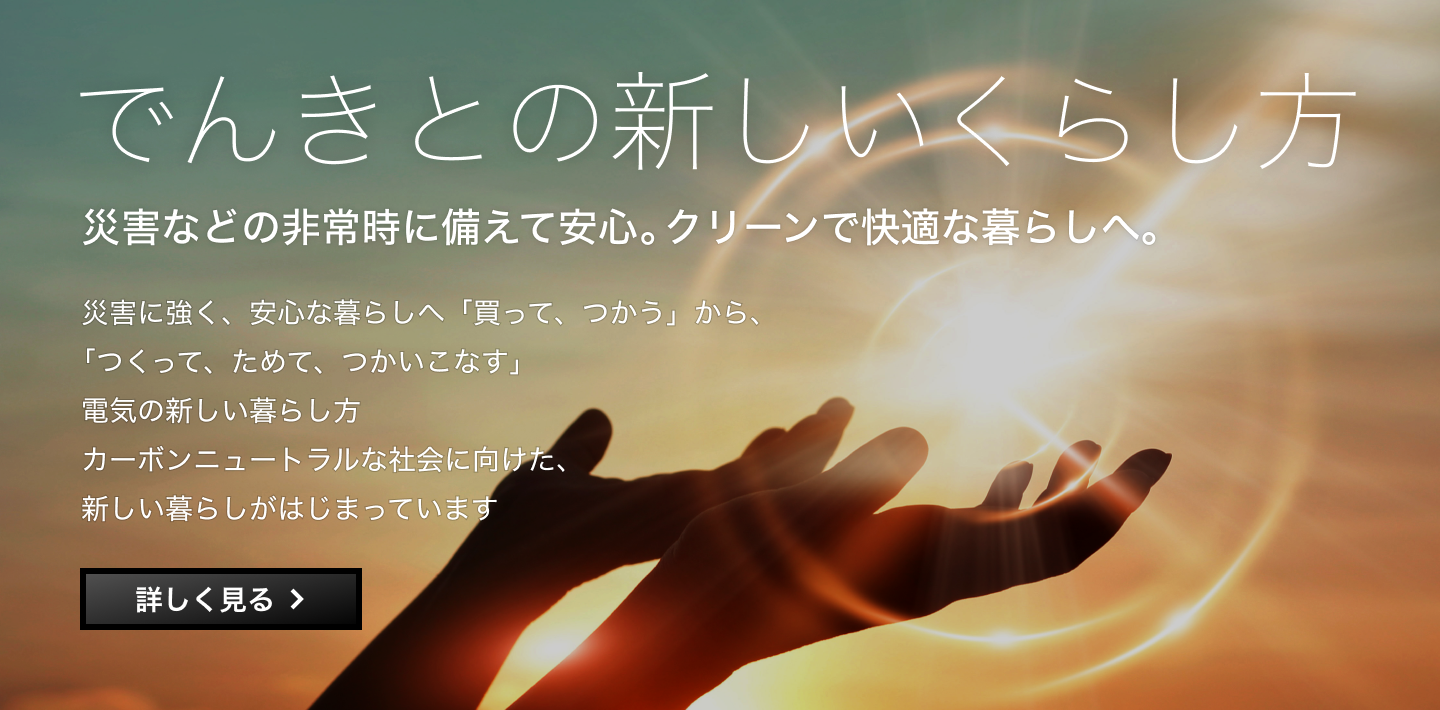
でんきとの新しいくらし方をご紹介します
-

電気と向き合う、人がいる。TEPCOブランドムービー公開中!

東京電力ホールディングスの取り組み


1分钟极速赛车开奖结果历史记录 プレスリリース・お知らせ
プレスリリース
- 2023年07月31日
- 第1回内部統制委員会の開催について
- 2023年07月31日
- 「(仮称)千葉県いすみ市沖洋上風力発電事業 計画段階環境配慮書」の送付及び縦覧について
- 2023年07月28日
- 2023年9月分電気料金の燃料費調整等について
- 2023年07月25日
- 電力アセットを活用した参加型社会貢献コンテンツの検討を目的とした覚書の締結について
お知らせ
- 2023年07月31日
- 「2022年度 発電・小売電気事業営業費用明細表の概要」について
- 2023年07月31日
- 電気料金の原価と実績(2022年度)
- 2023年07月04日
- 国際原子力機関(IAEA)によるALPS処理水の安全性レビューに関する包括報告書の公表について
- 2023年07月03日
- 建設工事に伴う当社架空電線などへの防護措置に関わる費用負担の一部変更について
福島原子力事故に関する定期更新・報道関係各位一斉メール
福島第一原子力発電所事故に関する定期更新
- 2023年07月31日
- 福島第一原子力発電所の状況について(日報)
報道関係各位一斉メール
- 2023年07月26日
- 福島第一原子力発電所 水処理設備1階処理装置室(南)における火災報知器の作動について(続報)
- 2023年07月26日
- 福島第一原子力発電所 水処理設備1階処理装置室(南)における火災報知器の作動について